Create Story Nodes
Dreem Team · July 11, 2026
The Storyline canvas is where the interactive story is built, node by node. This chapter covers the Assets and Outline panels, adding Episodes and nodes, connecting them, and configuring Video and Interaction nodes in detail. Before starting on the canvas, characters and locations should already exist in the World. See Chapter 4 for World Builder.
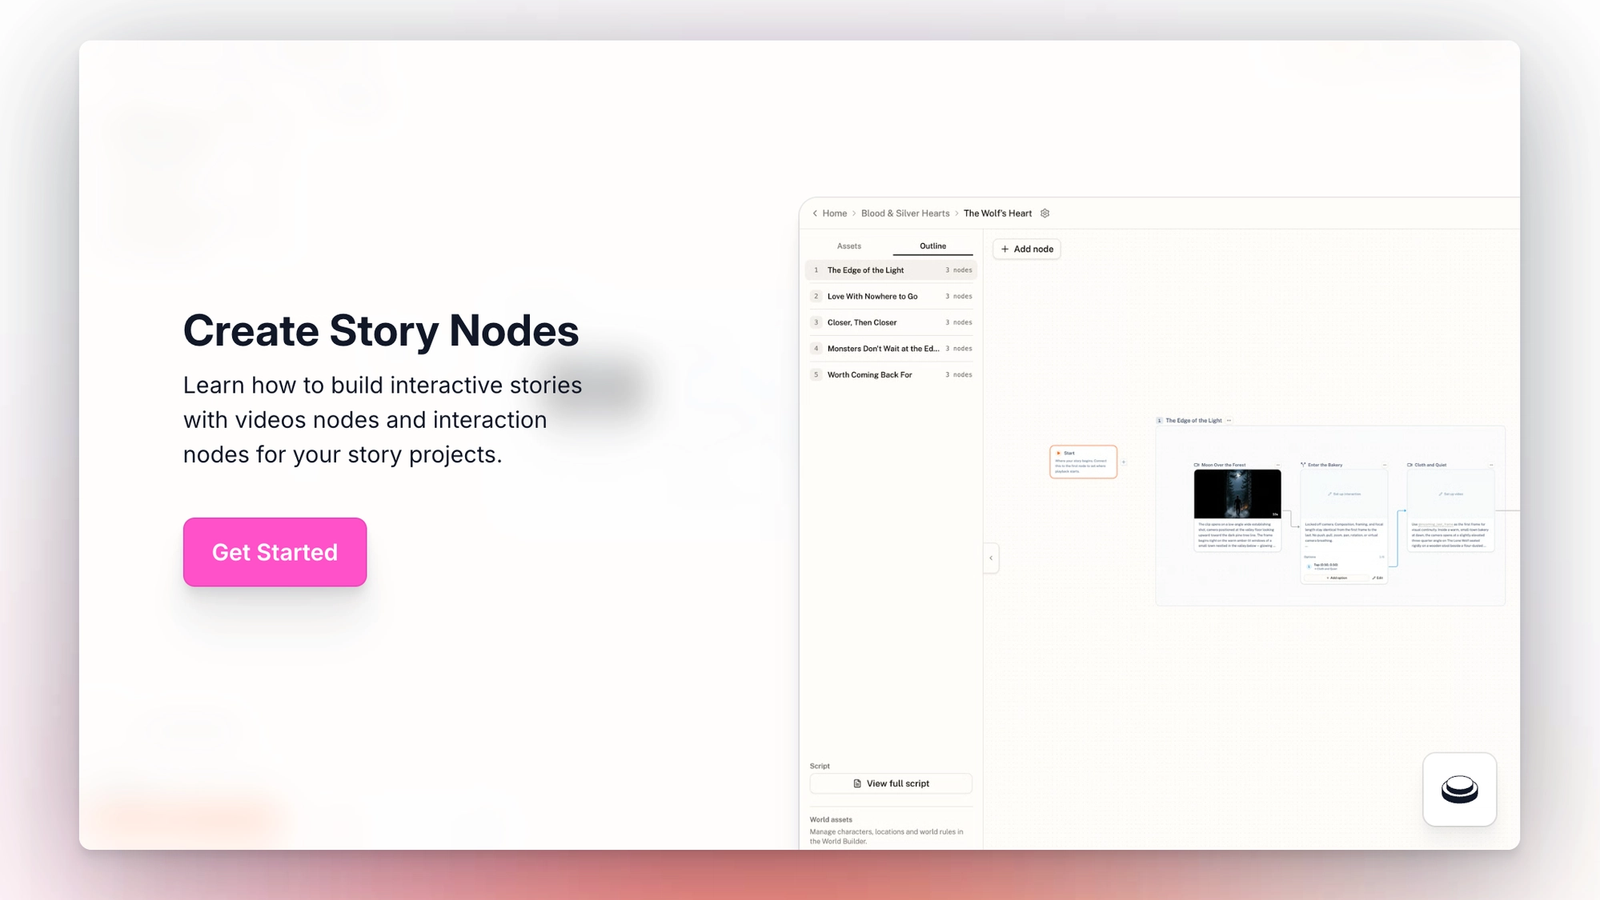
The two side panels
The left side of the canvas has two tabs: Assets and Outline.
Assets lists every character and location in the World, along with their generated sub-assets (character reference, head turnaround, body turnaround, expressions, stickers, wardrobe). Clicking any asset shows its detail. Assets on this panel are what @ mentions pull from.
Outline is a linear list of every Episode in the storyline. Each Episode shows its name and node count. Clicking an Episode in the Outline jumps the canvas view to that Episode. Outline is the fastest way to navigate a large storyline.
Below the two panels are two utilities: View full script (compiles all node prompts into a readable script) and Go to world builder (returns to the World Builder).
Episodes
The Start node marks where the story begins. Every canvas has exactly one Start. The first real node must be connected from Start using the "+" drag-to-connect handle.
Right-clicking on empty canvas space opens the Add node menu, which offers Episode, Highlight, Video, Interaction, and Focus episode.
Episode is the primary container. Each Episode holds a group of nodes. Recommended episode length when playing back is 1 to 3 minutes.
Highlight is a special episode used as the story cover — the first thing viewers see. Adding an interaction inside the Highlight is strongly recommended.
Episodes cannot be nested. All nodes must live directly inside an Episode.
Adding Video and Interaction nodes
Once inside an Episode, right-clicking opens the same menu with Video, Interaction, and Focus episode enabled.
Video nodes hold the footage viewers watch. Each Video node can be uploaded from a file or generated on Dreem. The right panel of a Video node contains: a Name field, a Mentions section (to @ characters and locations), a Video Prompt (the description used to generate), and bottom controls for Reference Mode, Model, Duration, Aspect Ratio, and Resolution.
Interaction nodes are the tap, swipe, hold, or rapid tap moments. Each Interaction node has two tabs: Video Generation (the looping video underneath) and Interaction (the choice overlay).
Video node settings
Reference Mode switches between Omni Reference and First & Last Frame. Omni Reference passes every attached asset to the generation. First & Last Frame uses a specific opening and closing image, useful for maintaining continuity with the previous shot.
Model offers Seedance 2.0 (best quality), Seedance 2.0 Fast (faster generation), and Seedance 2.0 Mini (lightweight). SD 2.0 is exclusive to Dreem Core Creators. Model choices will expand over time.
Duration ranges from 4 to 15 seconds. Shorter clips generate faster and are less likely to drift.
Aspect Ratio offers Adaptive, 21:9, 16:9, 4:3, 1:1, 3:4, and 9:16. 9:16 is recommended for the best Dreem in-app viewing experience, since the app is mobile-first.
Resolution offers 480p, 720p, and 1080p. 480p and 720p are recommended for faster loading and smooth in-app playback.
Interaction node structure
An Interaction node is a two-page unit: a looping video (typically 4 seconds) plus a choice overlay. The looping video plays continuously until the viewer makes a choice. The choice is defined by the interaction type and its options.
The looping video can be generated automatically from the first and last frame of the previous Video node, or uploaded manually. Generated loops use one of three templates: Character (subject holds pose), Prop (object stays in place), or Environment (ambient scene with no subject).
The four interaction types
Tap is the direct choice. Up to six on-screen tap points can be placed per interaction. Each tap point has an icon, an optional label, and a "Then go to" target node. Position is set by dragging in the preview.
Swipe is a single directional gesture from point A to point B. Both endpoints can be moved by dragging. Only one Swipe is allowed per interaction.
Hold requires the viewer to press and hold for a set duration. The duration is configurable in seconds. Longer holds are used for moments of tension.
Rapid Tap requires a number of taps within a time window. Both the tap count and window duration are configurable. Rapid Tap is used for urgency, action beats, or physical resistance.
Interaction icons can be swapped by clicking the icon selector. Options include speech bubble, eye, hand, heart, magnifying glass, footprint, calendar, and flag.
Connecting nodes
Every node has a "+" handle on its right side. Dragging from "+" onto empty canvas opens the Add node menu; dragging onto an existing node connects them.
For Interaction nodes, each individual option (each Tap point, the Swipe endpoint, or the Hold/Rapid Tap outcome) has its own "+" handle in the Options list on the right panel. Dragging from an option's "+" connects that specific choice to a target node. This is how branching works.
An unconnected option shows "unwired" in the Then go to dropdown. Unwired options break the story flow when played. The pre-publish checklist should verify every option has a target.
Editing and reusing nodes
Right-clicking a node opens actions: Rename, Copy, Copy to (another storyline), and Delete. Copy to allows the same Video or Interaction to be reused across storylines in the same World.
Right-clicking on empty canvas after copying opens a Paste option, which drops the copied node at the click location.
Version history
Every generated Video node has a version history. The clock icon at the top right of a Video node opens the History panel, which shows all previous generations with timestamps. Any past version can be re-activated.
Preview
The Preview button in the top right opens a phone-sized preview of the story. Preview shows exactly what viewers see. Every branch should be tested in Preview before publishing.
Publishing
The Publish button opens the Publish Episodes dialog, which lists every episode in the storyline with its current status (Live or Draft). Individual episodes can be selected and published or unpublished.
The first time an episode is published, the parent World must also be published. This is a one-time step per World. A checkbox at the bottom of the publish dialog handles this automatically.
Published episodes can be unpublished at any time. Republishing an edited episode updates it for viewers immediately.